Tuesday, May 25, 2010

DIY - Kitchen Remodeling Part I - Planning

It's been a while until I have some spare time to blog about our recently completed kitchen remodeling project.


We planned to wait until next year when our toddler daughter is old enough so that we can replace the kitchen cabinet without having to put back the child proof latches on our cabinet doors and drawers.  However, there was an after Christmas sale on appliances that we could not past, and one thing after another, by January we had already shopped for all appliances for the kitchen. The next logical step was to select a good set of cabinets and counter top and pick a date to start the demolition.
We came to Lowes, Home Depot, and other smaller local cabinetry shops trying to get some ideas on what's out there and what is our style. We didn't want to go with modern or European style because then we have to change out the furniture in our dinning room and great room to match the design... and besides, it's a little "cold". We thought of traditional American style, but the idea didn't last for more than 5 minutes. After a few weeks looking, we settled for French's cottage style as this would match our taste and tends to have an everlasting look. This style also has a little more details to look at, while not being too busy and bulky.


With a style selected, we started our shop list again. Surprisingly we could not find any smaller local cabinetry shops that do painted wood. After further research, we found that painted wood would require a multiple paint and cure processes to provide an enamel finish look while ensuring no cracks along the joints. When it comes to this complicate process, larger cabinetry companies seemed to be a better choice. We finally settled for KraftMaid from Lowes. This is only a mid range cabinet amongst all higher end cabinet manufacturers. While Lowes and Home Depot both have a similar promotion, the display at the local Lowes was newer, thus had gave us more ideas of what the finish product will be like, thus we went with Lowes.
It took us a couple more weeks to finalize the design. One weird thing about Lowes and any other Kraftsmaid authorized retailers including Home Depot is that they don't give out an itemized price list until the design is final and we have paid for the whole thing. Perhaps they want to avoid shop bid? Anyway, at the end we decided to go with Montclair Maple Full Face in Canvas color with Cocoa glaze.


Choosing the counter top typically wasn't easy as there are many good materials and colors to consider. However, in our case, we can only pick a something heavy in dark color to go with the cabinets and our grayish granite tile floor. We can either go with Absolute Black, but finally decided on Galaxy Black granite slab which has some sparkles that would eventually go with our back slash.
Now we just had to wait for the cabinets to arrive and call the warehouse to deliver the appliances.

To see a the construction, please continue to Part II - Construction

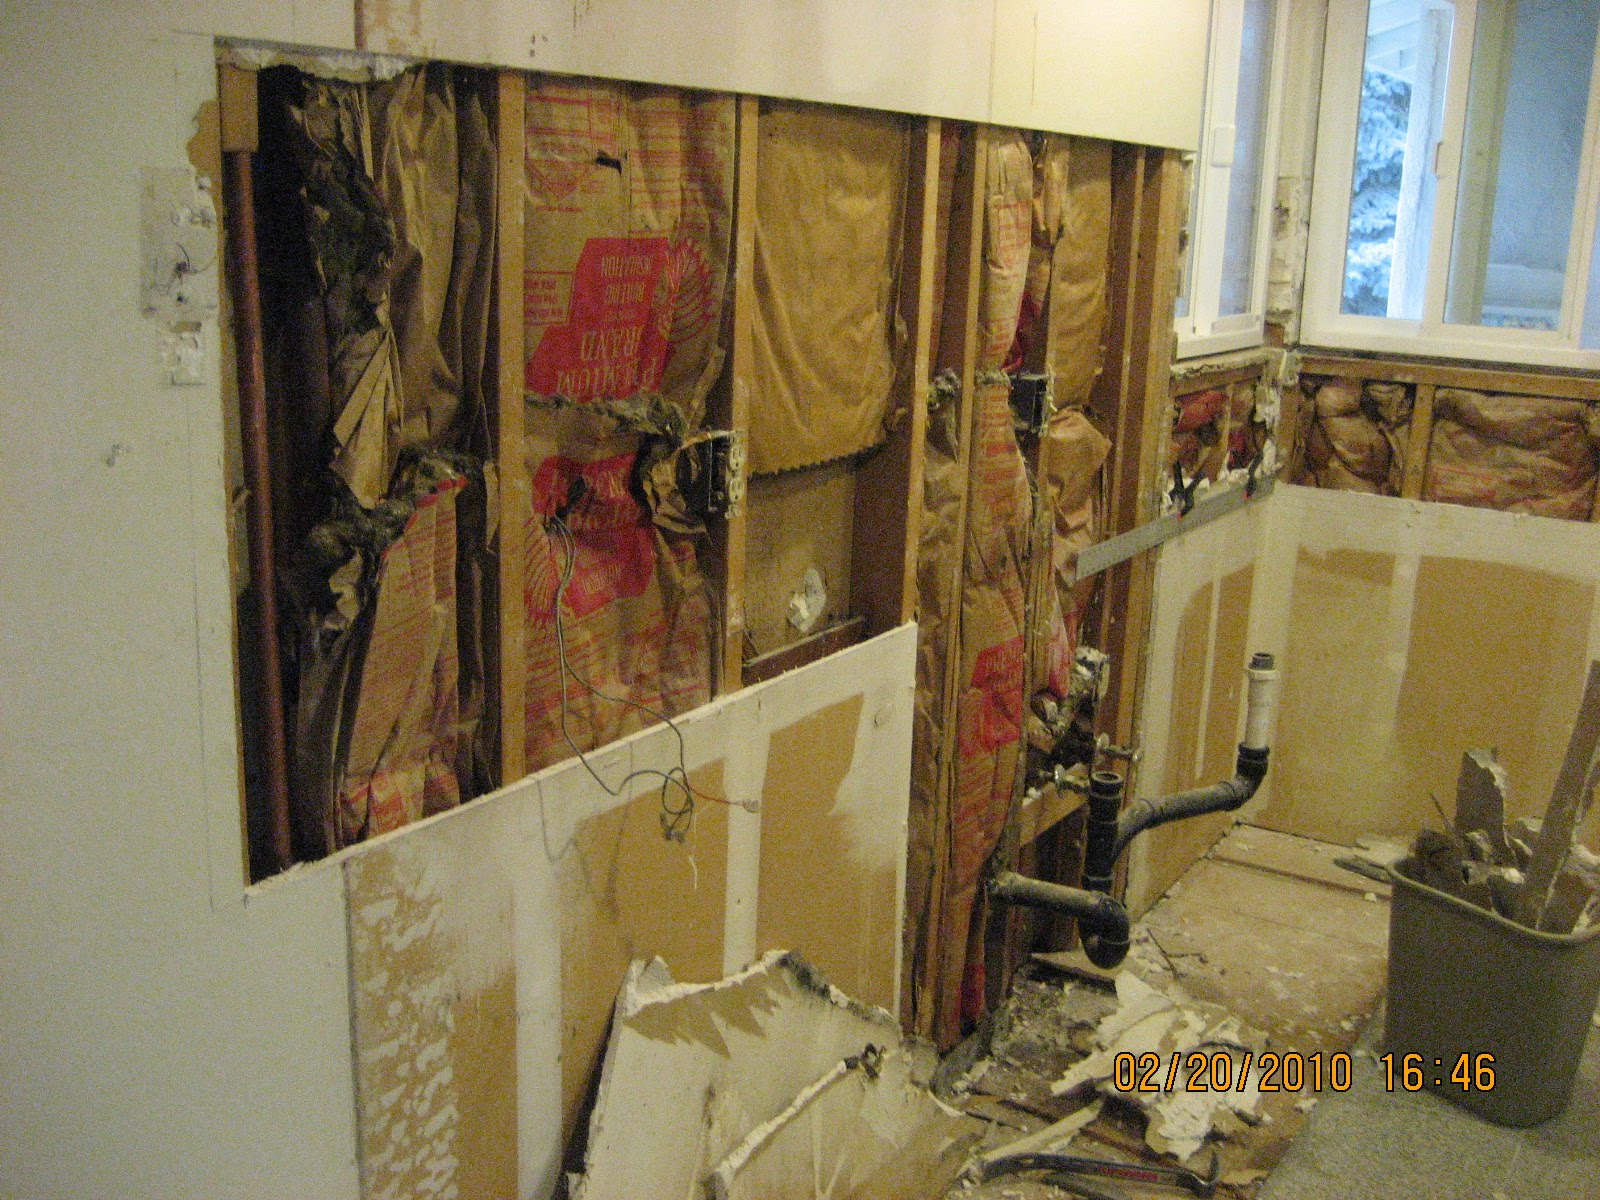
Here's a sneak peak at the construction...


Saturday, May 22, 2010

DIY - Car Mount for HTC Incredible


I bought the HTC incredible when it first hit the market on April 29 and until now, I still haven't found a good car mount for the phone. After searching the internet, I found that basically there are 6 types of car mount for smart phones. They all have some pros and cons...

  • Windshield mount - most popular, may not be stable if a long extension is needed. Also if you have to put up the car shade every day, this will not work very well.
  • Cigarette lighter mount - depending on the layout of your car, this could put your phone at a good or bad location; In addition, the arm tends to turn/move when pressure is placed on the phone.
  • Cup holder mount - this would be stable, but my car doesn't have a cup holder up high
  • Air-vent mount - as you could guess, this is not very stable. A fried of mind had his car cleaned and the dude dusting the car broke his clip and it falls into the vent system... not fun.
  • Friction-weighted mount - I haven't use this, but was told it could work very well.
  • Pro-clip type - this is a semi custom type of mounting made by Pro-Clip; tend to be the most stable with no extensions or arms. I like this one the most.

Obviously everyone has different taste for their setup. Without a mounting made specifically for the HTC Incredible, either I have to go with a bulky "one size fit all" cradle in one of the styles listed above, or build something by myself. You guessed it - I picked the second option and here it is... This will stay until I found a good car mount. For now, this is it.

Let me know what you think, or if there's anything can be done to improve the design.


Why this color? this is the left over from other mini projects I had before. Materials? I was using a 12 ga. electrical cable and a piece of sheet metal laying around in the garage. Questions? feel free to ask.